Introduction
Installing an air conditioning (AC) system in your home is not just a luxury—it’s a necessity for comfort, especially during those scorching summer months. This comprehensive guide will walk you through everything you need to know about AC installation, from understanding different types of units to ensuring proper maintenance.
Understanding AC Types
Before diving into the installation process, it’s essential to understand the various types of air conditioners available.
Central Air Conditioners
Central air conditioners are ideal for cooling entire homes. They use a system of ducts to distribute cool air evenly throughout your living spaces.
Ductless Mini-Split Systems
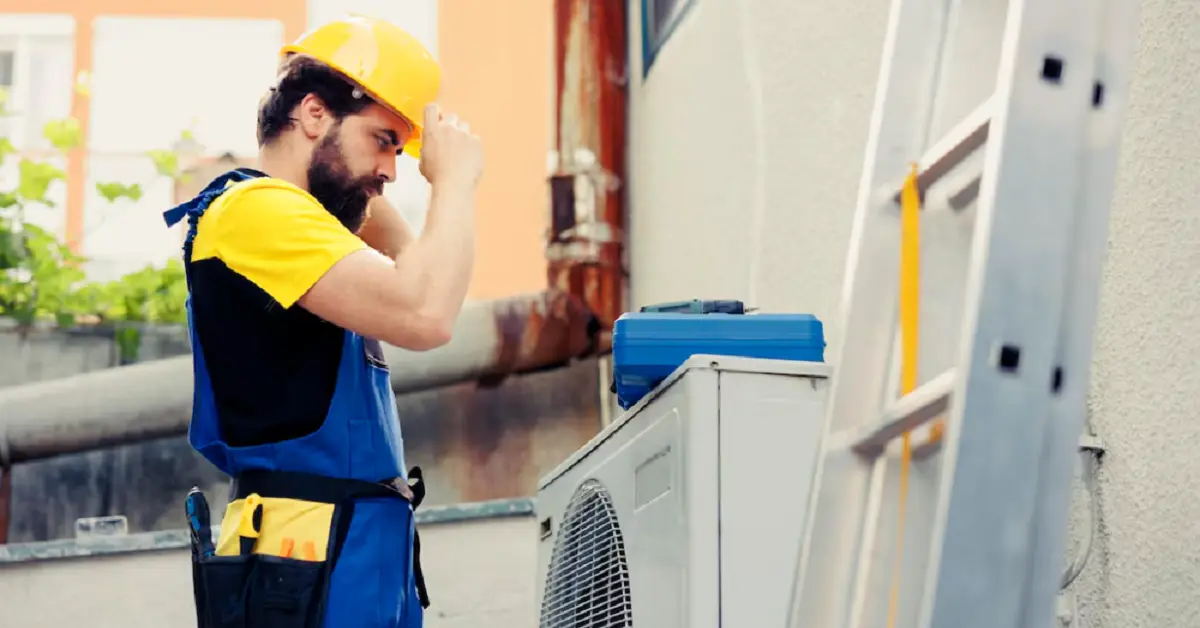
These systems are perfect for homes without ductwork. They consist of an outdoor compressor and one or more indoor units, offering flexible installation options.
Window Units
Window units are a cost-effective solution for cooling single rooms. They are easy to install and can be removed when not needed.
Portable Air Conditioners
Portable air conditioners are versatile and can be moved from room to room. They require venting through a window or wall.
Preparing for Installation
Proper preparation is crucial for a successful AC installation.
Assessing Your Cooling Needs
Determine the cooling capacity required for your space. This depends on the room size, insulation, and climate.
Selecting the Right AC Unit
Choose an AC unit that meets your cooling needs and fits within your budget. Consider energy efficiency and noise levels as well.
Gathering Necessary Tools and Materials
Ensure you have all the tools and materials needed for installation, such as screwdrivers, brackets, insulation tape, and a level.
Pre-Installation Steps
Before you start the installation, there are a few essential steps to follow.
Inspecting Your Home’s Electrical System
Make sure your home’s electrical system can handle the additional load of the AC unit. You might need to upgrade your electrical panel.
Measuring and Sizing the Unit
Accurate measurements ensure that the AC unit fits perfectly and operates efficiently. Measure the installation area and the unit itself.
Checking for Proper Ventilation
Proper ventilation is necessary for efficient cooling and to prevent overheating. Ensure the installation area has adequate ventilation.
Installing a Central Air Conditioner
Installing a central air conditioner involves multiple steps.
Installing the Indoor Unit
The indoor unit is usually installed in the attic, basement, or a closet. Ensure it is securely mounted and connected to the ductwork.
Setting Up the Outdoor Unit
Place the outdoor unit on a solid surface, away from obstructions. Connect it to the indoor unit using refrigerant lines and electrical wiring.
Connecting the Ductwork
Ensure all ductwork connections are sealed and insulated to prevent air leaks and improve efficiency.
Installing a Ductless Mini-Split System
Ductless mini-split systems are relatively easy to install.
Choosing the Installation Location
Select a location for the indoor unit that allows for optimal airflow and easy access for maintenance.
Mounting the Indoor Unit
Secure the mounting bracket to the wall and attach the indoor unit. Connect the refrigerant lines and electrical wiring.
Connecting the Indoor and Outdoor Units
Run the refrigerant lines through the wall to the outdoor unit. Ensure all connections are tight and leak-free.
Installing a Window Unit
Window units are among the simplest to install.
Preparing the Window
Open the window and clean the sill. Install the mounting brackets according to the manufacturer’s instructions.
Securing the Unit
Lift the unit into place and secure it with screws. Ensure it is level to prevent water leakage.
Sealing the Gaps
Seal any gaps around the unit with foam insulation to prevent air leaks.
Installing a Portable Air Conditioner
Portable air conditioners are flexible and easy to set up.
Positioning the Unit
Place the unit near a window and ensure there is a nearby electrical outlet.
Setting Up the Venting Kit
Attach the venting hose to the unit and run it through the window. Seal the window opening with the provided kit.
Ensuring Proper Drainage
Some portable units require regular draining. Ensure you have a proper drainage plan in place.
Electrical Connections
Proper electrical connections are crucial for safe and efficient operation.
Understanding Electrical Requirements
Check the unit’s electrical requirements and ensure your home can meet them. This may involve checking the circuit breaker and wiring.
Wiring the Unit Safely
Follow the manufacturer’s instructions to wire the unit. Ensure all connections are secure and properly insulated.
Testing the Electrical Connections
Once wired, test the connections to ensure the unit powers up and functions correctly.
Ensuring Proper Ventilation
Ventilation is key to efficient AC operation and indoor air quality.
Importance of Ventilation
Good ventilation helps maintain indoor air quality and prevents the AC unit from overheating.
Ventilation Options for Different AC Types
Each AC type has specific ventilation needs. For example, window units vent through the window, while central systems use ductwork.
Testing the System
After installation, thorough testing ensures everything is working correctly.
Initial System Check
Turn on the unit and check for cool air distribution. Listen for any unusual noises.
Troubleshooting Common Issues
Common issues include weak airflow, strange noises, and inconsistent cooling. Refer to the user manual for troubleshooting tips.
Adjusting Settings for Optimal Performance
Adjust the thermostat and other settings to achieve optimal comfort and efficiency.
Maintenance Tips
Regular maintenance keeps your AC running smoothly.
Regular Cleaning and Filter Replacement
Clean the filters regularly and replace them as needed to maintain airflow and efficiency.
Seasonal Maintenance Checklist
Before each cooling season, check the system for any issues and perform necessary maintenance tasks.
Signs Your AC Needs Professional Servicing
If your AC is not cooling properly, making unusual noises, or leaking water, it may need professional servicing.
Energy Efficiency Tips
Maximizing energy efficiency saves money and reduces environmental impact.
Choosing Energy-Efficient Models
Look for models with high SEER (Seasonal Energy Efficiency Ratio) ratings for better efficiency.
Proper Insulation and Sealing
Insulate your home and seal any leaks to keep the cool air inside.
Using Programmable Thermostats
Programmable thermostats help maintain a consistent temperature and reduce energy consumption.
Cost Considerations
Understanding the costs involved helps you budget effectively.
Initial Installation Costs
Installation costs vary depending on the type of AC unit and complexity of the installation.
Long-Term Operating Costs
Energy consumption, maintenance, and potential repairs contribute to long-term costs.
Tips for Saving Money
Choose energy-efficient models, perform regular maintenance, and consider professional installation to avoid costly mistakes.
Conclusion
AC installation is a significant investment in your home’s comfort. By understanding the different types of units, preparing adequately, and following proper installation steps, you can ensure a successful and efficient setup. Regular maintenance and energy-saving practices will keep your system running smoothly for years to come.